In order to program the Arduino side of the NEO through the Arduino IDE running on an external PC, you need to:
- Create a micro SD with a recent version of UDOOBuntu and insert it into the UDOO NEO; refer to section 2.1 for instructions.
- Connect the UDOO NEO to your PC with a micro USB cable; on Mac and Windows PC, you might need to install additional software: refer to section 2.3.1.
- Install and configure the Arduino IDE.
- Download and install on your PC the latest version of the Arduino IDE from the official Arduino web site (https://www.arduino.cc/)
- Once installed, open the Arduino IDE and go to File → Preferences; in the "Additional Boards Manager URLs" copy and paste this text: https://udooboard.github.io/arduino-board-package/package_udoo_index.json
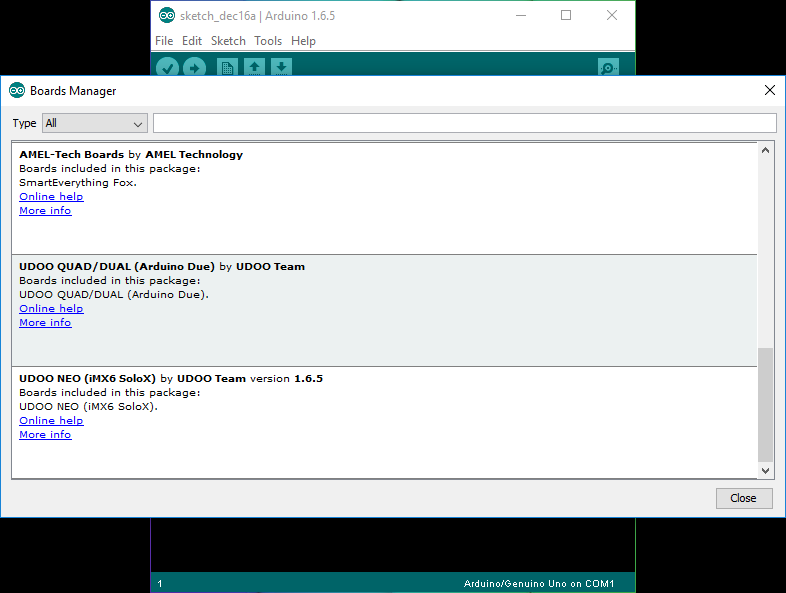
- Now go to Tools → Boards and open the Board Manager; wait a few seconds until the end of the "index download", then look for "UDOO NEO (iMX6 SoloX) by UDOO Team" as shown in the picture and install it.
- In Tools → Boards you should now see the "UDOO NEO (Cortex M4)" menu line; click on it, leave the Tools → Ports unselected.
Now you are ready to use your UDOO NEO with the Arduino IDE installed on your PC as you would do with a standard Arduino board. For example, pressing the Upload button on the Arduino IDE will load a sketch on the M4 processor of the NEO.